Customize macOS (Mac Catalyst) About Dialog with .NET MAUI

This post was triggered by this issue on the .NET MAUI repo. Basically the question is: how to customize the About dialog in a .NET MAUI macOS app? In this post, we will learn how to do just that!
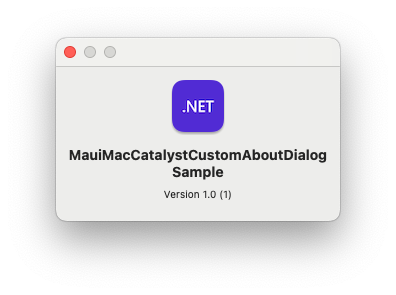
In case you’re not aware, you can find the dialog by starting the .NET MAUI app on macOS and under your app name in the menu bar in the top of your screen you will find an option “About {your app name}”. Clicking that will show the dialog you can see below.
If you want to follow along, or just want to skip to the code, you can find that here: https://github.com/jfversluis/MauiMacCatalystCustomAboutDialogSample.
Where does the About dialog even come from?! #
This is an interesting question. It might not be immediately clear to you because you’re not as familiar with the .NET MAUI codebase, but I knew right away that this about dialog is not something that we add. That means that this dialog is something that is provided by Apple as part of a technique called Mac Catalyst.
With Mac Catalyst it’s possible to run your iOS apps on macOS from one and the same codebase. That is exactly the concept we use with .NET MAUI to make it possible to build both iOS and macOS apps.
Customize the About dialog content #
I did a quick search and found this blog post by Igor Kulman (thank you Igor, if you ever get to read this 🫶). It turns out that we can fairly easy customize the content of this About dialog by including a Credits.rtf file.
An RTF file stands for Rich-Text Formatting and has been around for a good while. You can create such a file with Wordpad if you’re on Windows and TextEdit if you’re on a Mac. Format the file however you want, include links and everything, just make sure to name it Credits.rtf.
Now, move this file into your .NET MAUI project. It doesn’t really matter where you put it, as long as you mark it as a BundleResource and you probably only want to include it for macOS. In my example I put it under the Resources folder and made an entry in my csproj file like this:
<ItemGroup>
  <BundleResource Include="Resources\Credits.rtf" Condition="$([MSBuild]::GetTargetPlatformIdentifier('$(TargetFramework)')) == 'maccatalyst'" />
</ItemGroup>
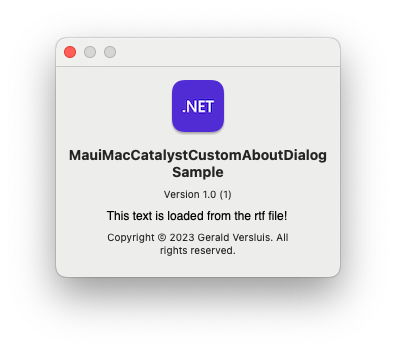
Depending on the content of your RTF file, your about dialog will now look something like the one below.
If you want to customize it a little more you can also make an extra entry in your Info.plist file by adding this key:
<key>NSHumanReadableCopyright</key>
<string>Copyright © 2023 Gerald Versluis. All rights reserved.</string>
That will add the small copyright notice right at the end that you can see in the screenshot above as well. Of course the text here can be anything you want. Other things that you see in this dialog are influenced by the Info.plist as well like the app icon and app name.
Fully replace the dialog #
If that is not enough for you, there is also a way to fully replace the functionality of this item. For that we need to write some platform-specific code.
Go into the Platforms/MacCatalyst/AppDelegate.cs file and inside the AppDelegate class add this override:
public override void BuildMenu(IUIMenuBuilder builder)
{
    base.BuildMenu(builder);

    var action = UIAction.Create("About this app", null, null, handler: (a) =>
    {
        Console.WriteLine("Custom about");
    });

    builder.ReplaceMenu(UIMenuIdentifier.About.GetConstant(), UIMenu.Create("", null,
        UIMenuIdentifier.About, UIMenuOptions.DisplayInline, new[] { action }));
}
What this does is it locates the default About menu item (identified by UIMenuIdentifier.About.GetConstant()) and replaces that with a menu of our own.
In this case I do a simple Console.WriteLine(); but you can replace that with whatever you want and maybe show a dialog of your own or navigate to somewhere in your app.
Remove the option (and other menu items) #
You can also completely remove that option altogether or any other menu item in the main menu bar for that matter. Use the code below for that, which you still place in the Platforms/MacCatalyst/AppDelegate.cs file.
public override void BuildMenu(IUIMenuBuilder builder)
{
    base.BuildMenu(builder);

    builder.RemoveMenu(UIMenuIdentifier.About.GetConstant());
}
To remove other options in the menu bar look at the other UIMenuIdentifier properties and add those as you please.
Conclusion #
That’s it! While we don’t have any APIs in .NET MAUI right now to do this for you, it isn’t that hard to do yourself as well. You can very easily add menu bar items through .NET MAUI APIs that you can use in your app. For that have a look at my YouTube video below, or check out this Microsoft Learn link.
Find the sample code for this post here: https://github.com/jfversluis/MauiMacCatalystCustomAboutDialogSample