Testing NuGet packages locally

For a little while now, I have been working on the file picker library for Xamarin.Forms. Some issues were opened regarding the references that were made whenever someone installed the NuGet package that is created. To test this, I didn’t want to push out a new version to NuGet.org each time and litter the feed with versions that might or might not work. It turns out there is a very easy way to test your NuGet packages locally!
Visual Studio for Mac #
When I possibly can, I like to work with Visual Studio for Mac (and it’s surprising how little I have to spend on Windows!) so my first attempt was with this wonderful IDE.
Simply go to the main menu (Visual Studio) in the top bar and then select Preferences. In the list find the NuGet node and then Sources. You will see the nurget.org feed will already be there. To add a new feed, simply select the Add button in the lower-right. The resulting screen can be seen below.
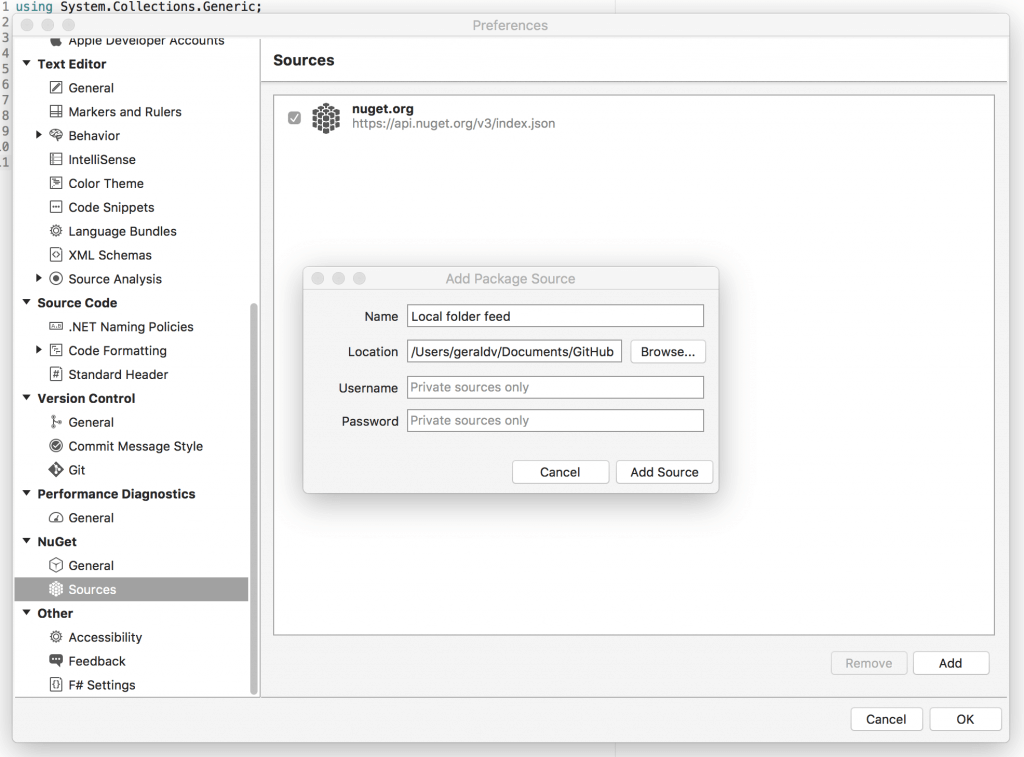
You only need to specify a name for this feed and the location. The placeholder for location already gives it away: URL or folder. You can just add a folder here! Point it to a folder which holds the nupkg files that you want to access and save the new feed with Add Source.
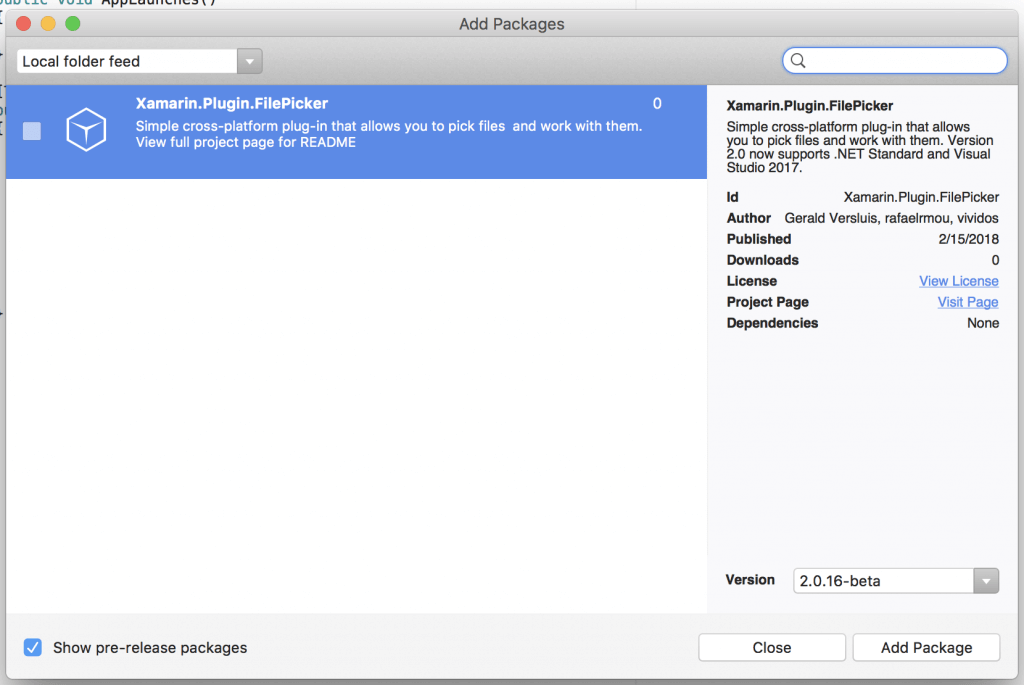
Now, when you add a new package to your project, make sure the combobox in the top-left is set to your new feed to find the packages that are in your folder and just start working with it like any other regular NuGet feed. Testing NuGet packages locally has never been this easy.
Visual Studio on Windows #
On Windows it works a little bit different, but the gist of it is the same. In Visual Studio 2017 you can simply go to the Tools menu at the top, then select NuGet Package Manager and Package Manager Settings. In the screen that pops up we finally select Package Sources. This screen an be seen underneath.
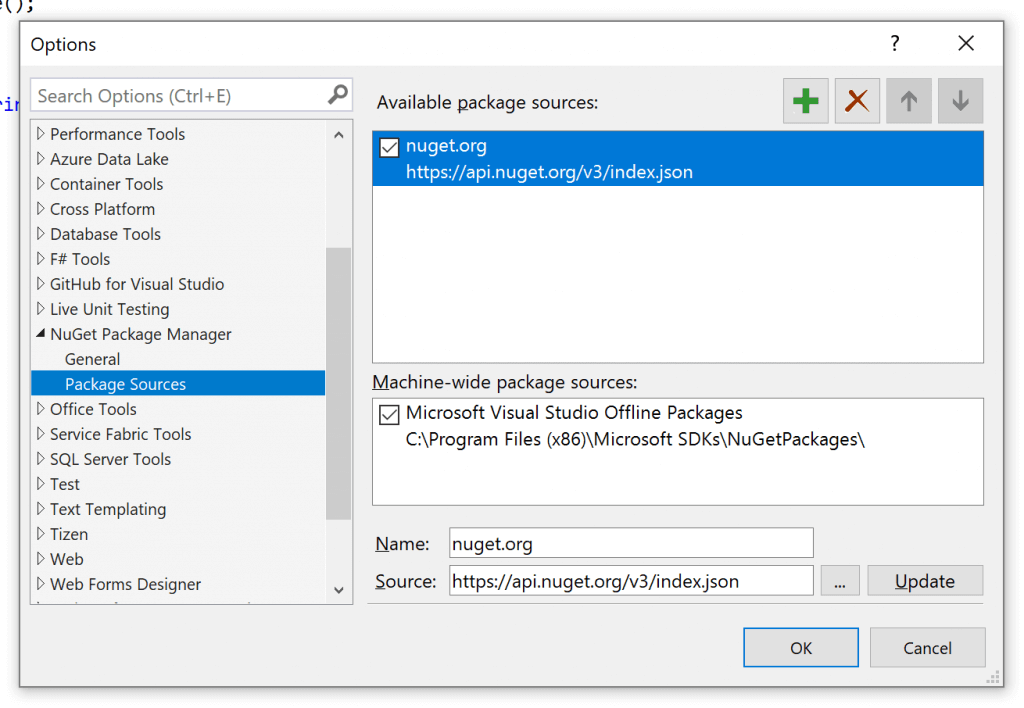
To add a new source, our local source, click on the green plus icon in the top-right. Now a new entry will appear under the nuget.org source. Specify a name and the source at the bottom of the screen. The name can be anything, the source is the folder where your local packages are. Don’t forget to click the Update button to save, then you can close this screen.
The same as for Mac, whenever you add a new package, you can now select this source for your NuGet package testing.
Taking another route #
As you can see, there isn’t that much to it. You probably even knew this already, but I blindly took it for a fact that only URLs could be added as a source. Of course this is another route to take. I like to use AppVeyor to setup my open-source projects, like this one. One (of a bunch) of the awesome features from AppVeyor is that you can push NuGet packages to your project and/or your account feed. Basically, AppVeyor provides you with your own personal NuGet feed! You could add this to your dev environment and set it up to serve you with all changes inside a PR or branch, etc.
This approach can also be very useful to provide your users with some kind of unstable/development NuGet feed to test out a possible bug fix or changes in a opened PR.
That’s it for now! #
Also have a look at an earlier post where I describe some very useful other NuGet packages. You could also have a look at my book, on how to write your first Xamarin.Forms app which also mentions some useful libraries. If you decide to write your own NuGets be sure to let me know! Nothing is holding you back now that you have seen how easy it is to test NuGet packages locally.
Edit: Konrad (@konmue) pointed out to me that there is a great tool available by Claire. The NuGet Package Explorer. I didn’t use it myself, but it looks really great for inspecting your freshly created NuGet package.
Thank you for reading!