Less repetitive code to reach REST APIs for your Xamarin.Forms app with Refit

In follow-up of my previous post about PropertyChanged.Fody, this time we will look at Refit (link). Just like implementing the INotifyPropertyChanged interface, writing code to communicate with your REST backend can produce a lot of duplicated code. Each request looks very similar and follows the same pattern; do a request to endpoint X and retrieve a string, deserialize it object or send an object to endpoint Y and retrieve the result.
The old way #
When you would write this code manually you would have to repeatedly have to declare or at least retrieve a client to do a HTTP request, set the endpoint, do the request, ah well. You get the drift. How awesome would it be if you could just declare an interface with methods that you call from code, adorn those with attributes that describe the endpoint and the HTTP verb. That is exactly what the creators of Refit must have thought. Let’s first have a look at the ‘old’ way. To provide for some demo data I am using https://jsonplaceholder.typicode.com, This handy website provides some endpoints that let’s you get some sample data quickly and easily. I have mapped it to an object I have named Foo, very descriptive. OK, let’s get to it.
Above you see what the code could look like when you would do it how you are used to it. We get a HttpClient, set the base address and go to the endpoint to post or get our data. Of course you could make this a bit smarter by abstracting the HttpClient to a member for this class or some other construction, but the idea would remain the same.
We then would deserialize the object and do something with it. The problem here is not even that it is so much code, but it feels like you have to handle a lot of stuff that you don’t have to. And you don’t!
The Refit way #
Install Refit on both your PCL (I’m in the PCL camp, sorry) and your platform projects. If you are using a PCL you probably need to install specifically version 2.4.1. There are newer versions available, but these target .NET Core. And, although you could get .NET Core running for your Xamarin projects, it isn’t very wide spread right now. When you did, we are going to have to create a few things. An interface, a class to invoke our calls and some new code to call it from.
More than just an interface #
Let’s start with the main ingredient here; the interface.
To make it possible for Refit to generate all the code it needs, this is it. You create an interface, define the .NET method with which you want to retrieve it and then put the attribute above it. The attributes are pretty simple, they are just the HTTP verbs that you want to use. We want to go a HTTP GET for now, so i use the Get attribute. As a parameter I put in the endpoint. Please note; it needs to start with a ‘/’. If not, you will run into an error at runtime. The other thing is, it will generate async methods, so you will always need to return a Task or Task
Calling endpoint through Refit #
An interface in itself does nothing. So we need a class to act as a proxy, although it does not actually implement this interface. The implementation is the code that will be generated for us by Refit. As a logical next step let’s look at the class which invokes this goodness.
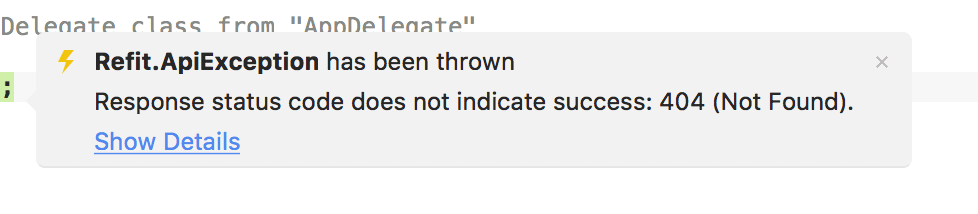
This looks a bit more like our initial code. Only this time, we create a Refit client. By just specifying the base address like this it will use the HttpClient class that we used earlier. The constructor also has an overload which takes an HttpClient, so if you want to use another implementation you can inject it here. Of course you are free to implement any error handling in here as well. Having said that, anything other than a HTTP OK (200) will be handled as an exception, so keep that in mind when you handle your errors. It does give you the status code that it received so you can act appropriately or inform the user properly.
Lastly we need to call this code, I will do it from a code-behind again for brevity, but this might just as well be from my ViewModel, business logic or whatever your architecture may be.
If we compare this code to the first code-block you see that it is much more compact and elegant. As I have mentioned before, it is not necessarily less code overall, but it just feels much cleaner. Implementing new endpoints mainly means defining a method signature and put in the attribute with the endpoint. This way, you can focus more on business logic instead of (de)serializing objects.
Working with Parameters in Refit #
Next, let’s have a look at how to deal with parameters, because the chances are that you need some dynamic values to get specific data from your REST service. The sample service allows us to get a specific post through an endpoint like this: https://jsonplaceholder.typicode.com/posts/3. Notice how we specify an ID at the end of the URL. This might just as well be 1 or 42 or 1337. OK, not 1337 because this service only has 100 entries, but in real-life it could be 1337.
We need some way to get this into our URL now that we do not have full control over our endpoint address anymore. Luckily for us they have thought about that as well. Have a look at the code below. I have expanded the interface a little bit with a method to retrieve a specific post by the ID.
In the attribute you will see a value which is enclosed in curly brackets, this maps to a parameter in the C# method signature. As long as you keep the naming in sync it will map automatically, although there are also possibilities to differentiate these values. The only thing that remains now is implementing the method in our client object and calling it from an event. This is what that code would look like.
First we simple wrap our interface method in our service client code using the _restClient instance we have created before. Then calling it from our button is easy, and voila! There is our post number 3.
POST #
Finally I will show you that you can not only fetch data with the GET verb, but you can also do a POST (and every other HTTP verb for that matter). As you might have guessed by now; we start with implementing the interface, this time I will return nothing (well, a Task, remember they need to be async) and take an object of Foo to post.
In the RestClient.cs implementation I will just pass it along and in my code-behind I will create a new object and post it to my endpoint. As you can see in the code below, you do not need to do anything special to get your data serialized or anything. Just provide it as the value for the parameter and that is it.
There are a lot more things that you can do with the Refit library, basically anything you would expect from a NuGet that helps you with REST communication. You can get and put stuff in the body of the request, add (authorization) headers, stream content and much, much more. For that I would invite you to go have a look at the GitHub page where it is all described in detail.
All code that I have used for this sample project can be found on my GitHub page, which is here.