SwipeView: Swipe All the Things in Xamarin.Forms 4.4

In the 4.4 release of Xamarin.Forms a couple of experimental controls were added. One of which is SwipeView. With SwipeView you are able to make controls swipe-able and put context actions underneath them. In this post, I will show you how easy it is to implement and use SwipeView in your own project.
Earlier I wrote about the CarouselView, which is a great control that let’s your users scroll through different pages of content. In the same release, we also added the SwipeView, let’s see how easy it is to use.
Adding SwipeView to a control #
You probably know our current SwipeView implementation which you can find on a cell in the ListView. With the ContextActions you can swipe that cell to the left and a number of buttons will appear from underneath the cell. While this is pretty cool, the functionality doesn’t really go beyond that.
Enter the new SwipeView. With this new control, now added under the experimental flag, you can implement this swiping behavior on all controls. While it probably makes most sense to use it together with CollectionView, you are able to use it on ay other control too.
Let’s look at some code #
Note: at the time of writing SwipeView is available under an experimental flag. Read more about those flags and how to use them in this post.
For this post I have created a little sample app to show you how easy it is to implement all this. Before we begin, don’t forget to add the experimental flag to your App.xaml.cs file so we can use SwipeView properly.
After that, we can start adding this to our controls. In my case, I added it to a Grid on a simple ContentPage. As mentioned before, it might make more sense on a CollectionView or something similar, but the implementation for that remains the same.
What you simply need to do is wrap the control you want to make swipe-able in a SwipeView and set the properties you’d like to have. Have a look at my full page code below.
Notice how the Grid is wrapped in the SwipeView and inside of that, I have basically two sections: the LeftItems and the RightItems. No worries, TopItems and BottomIcons are also there.
In the screen capture below you can see what this code does at runtime.
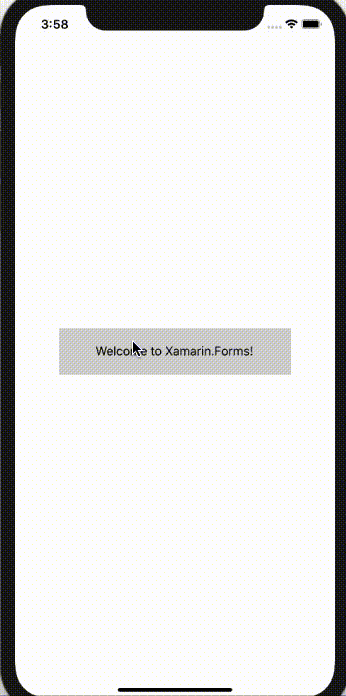
Showing the SwipeView in action on iOS
SwipeItems #
Let’s zoom in on the LeftItems and RightItems for a little. As you might have suspected from the name, this is how you define where the context actions will show up. For example, the RightItems will show up on the right, so when the user swipes to the left.
There is another interesting thing you might notice which is the Mode on the SwipeItems property. You can see me setting it explicitly on line 14. The default behavior is Reveal, which indicates that the context actions will just be shown when you swipe. With the Execute mode, when you swipe far enough, the associated event is triggered when you swipe the control the right way.
If you examine the code more closely you will also see that you can work with text as well as icons, set the background color and you have the Invoked property which is fired when the item is interacted with. Of course, there is also a Command property, which lets you do it the MVVM way.
Learn More about SwipeView #
If you want to read more in-depth about everything SwipeView has to offer you, you probably want to read the documentation page for it. While I did cover the basics, there is much more fine-tuning you can do. All the sample code in a running app form is on my GitHub here: https://github.com/jfversluis/SwipeViewSample
Original hero image: Background vector created by macrovector - www.freepik.com