Using custom fonts on iOS and Android with Xamarin.Forms
Edit March 14th, 2018: By the request of one of my followers on Twitter I have set up a sample repository here: https://github.com/jfversluis/CustomFontsSample. Please note that the code is different from below and I did a new blogpost with the latest bits, because some things have changed (for the better!). Seeming that this post is still found a lot through Google, I thought I’d already update it. If you run into anything, please ping me on Twitter.
Original post:
Although I wouldn’t recommend doing it too much - you should avoid it to create a most consistent user experience - there are certain scenarios in which you would want to show custom fonts. In a recent project, this is something I needed to do! Being the nice guy that I am, I won’t keep this from you, so here goes.
Custom font on iOS #
On iOS it was surprisingly easy actually.
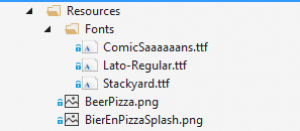
First thing you need to do is incorporate the font you want to use in your project. Under Resources create a folder Fonts (not necessary but it is a but more organised) and put one or more fonts under there in ttf format. Note; every font is loaded into memory at app start so choose your fonts wisely!
Open your info.plist in your favorite text editor and at this section.
Of course, if you didn’t put them in a fonts subfolder leave out the ‘Fonts/’ part.
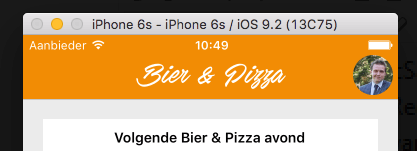
From there you can use the iOS Appearance API to apply your font to whatever you want. In my case this was the navigation bar, which resulted in this:
UINavigationBar.Appearance.SetTitleTextAttributes(new UITextAttributes { TextColor = UIColor.White, Font = UIFont.FromName(“Stackyard PERSONAL USE”, 32) });
Note that you have to use the fonts name, and not the filename. So be sure to double check that!
When you are using Xamarin.Forms you can apply it to labels even easier, just use the FontFamily property.
Which, in turn results looking like this.

If you did pay attention you saw that I didn’t only use the FontFamily property, but I have also set the StyleId to something that has to do with a custom font. Which brings us to the Android side of things.
Custom fonts on Android #
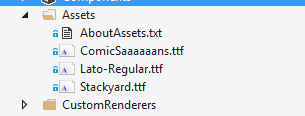
On Android things are a bit different and also a bit more complicated, but no worries nothing we can’t handle. Again we start with also adding your fonts to the project, here don’t add them under Resources but under Assets.
Now what we need to do is create a CustomRenderer for the controls in which we want to show our fonts! If you need a reminder of how CustomRenderers worked, look at my earlier post here.
A obvious choice is the Label control. When we define a renderer with this code overriding the ElementChanged we can use the StyleId, like you’ve seen above, to specify which font to use right from our shared code!
protected override void OnElementChanged(ElementChangedEventArgs
if (!string.IsNullOrEmpty(e.NewElement?.StyleId)) { var font = Typeface.CreateFromAsset(Forms.Context.ApplicationContext.Assets, e.NewElement.StyleId + “.ttf”);
   Control.Typeface = font;
}
}
Memory-wise you would probably be better off creating the fonts in one place and not for every label. It is here shown to keep the code compact.
Also note, that here - unlike iOS - you do have to use the font filename here!
To be complete, here is the not so surprising outcome;

There is probably some way to achieve this with Android theme’s but I didn’t dig into that yet. If you have, please let me know how! Especially how to set a custom font on the Navigationbar in Android.. That has been keeping me up a while now.
Also Windows Phone isn’t included here. Sorry!